Virtual machines can be used as a sandbox to test unfamiliar software in a safe environment, or they can be used as a fun way to explore a different or new operating system. It is very easy to set up a virtual machine as this post will hope to demonstrate.
In this post, I am going to set up a Virtual Machine and run Ubuntu as a productivity machine on top of my Windows 10 laptop.
 |
| Virtual Box is an easy-to-use open source Virtual Machine for Windows and other operating systems. |
Setting up
First I needed to grab a copy of the VM software. I choose to use
Oracle Virtual Box.
Second I needed to download a copy of
Ubuntu.
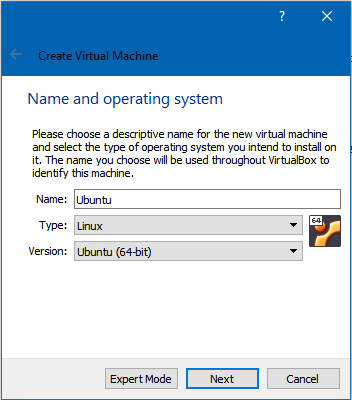 |
Once you have installed Virtual Box, the next step is to create a new virtual machine by pressing the handily titled 'NEW' button. Once pressed you will get this dialogue box. Simply give your machine a unique name and select the correct Type.
|
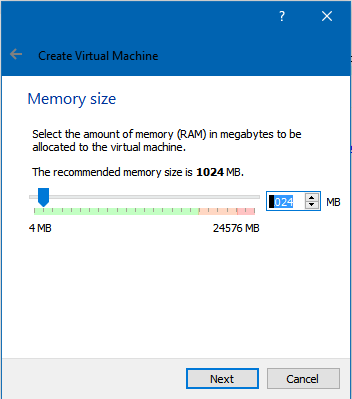 |
| The next stage is to allocate RAM from your host machine to be allocated to the guest machine. The value that you spare will depend on how much your host machine has to spare and what your guest machine will be doing with it. I am going to use about half of the 24GB available. |
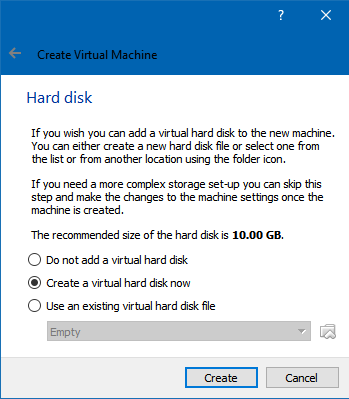 |
| Unless you already have a virtual machine hard drive, your next steps will be to allocate some of your host machine's hard disk to be used by the guest machine. |
 |
| You have two options here. Either create a drive that will grow in size until it reaches a maximum, or create a drive already at its maximum size. |
 |
| I intend to store a significant amount of files on my machines, so I am going to allocate 100GB from my host machine, space that I can easily afford to spare. |
VirtualBox will now start creating your virtual hard disk. Depending on size and speed of your machine, this could take several minutes, so go and put the kettle on, or write a letter to your mad Uncle. We will reconvene when it is time to install Ubuntu,
Installing Ubuntu
Once you are ready to start, click on the name of your virtual machine to boot it up. This is where the Ubuntu disk image comes in.
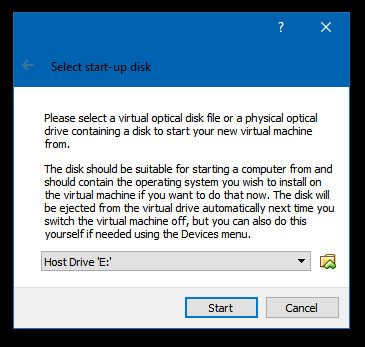 |
| You are ready to point the virtual machine software at the location of your Ubuntu disk image. Once located then you are ready to start, so click 'start'. |
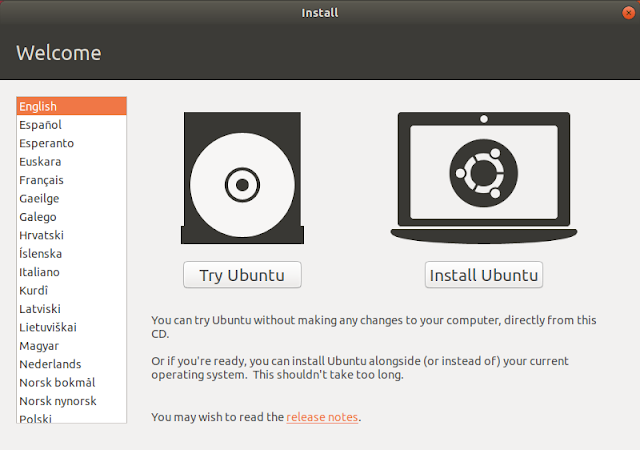 |
| Yup, you are ready to choose your language and hit Install. |
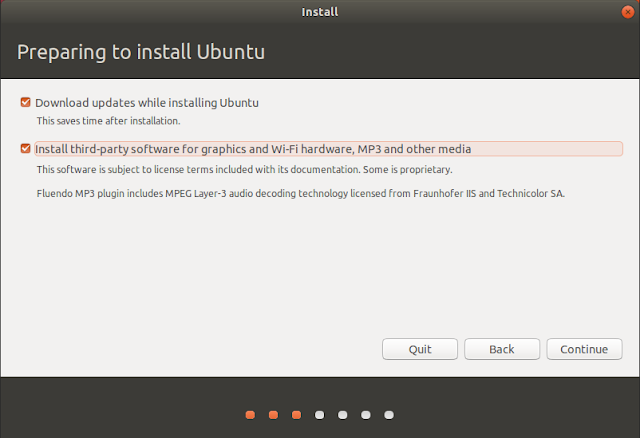 |
| Oh, go on then... |
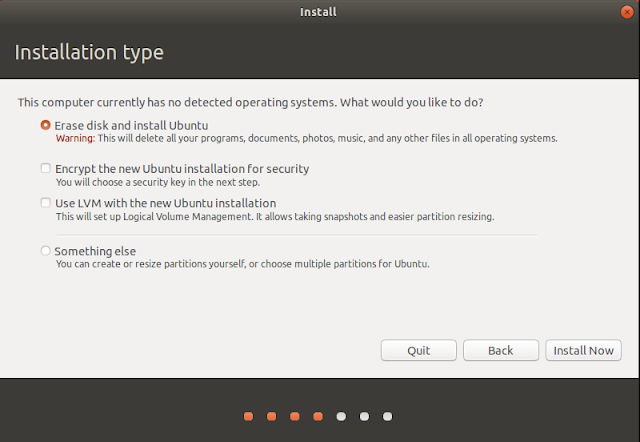 |
| It sounds scary, but yes, you mean to click the first option, unless you are planning something else not covered in this post. |
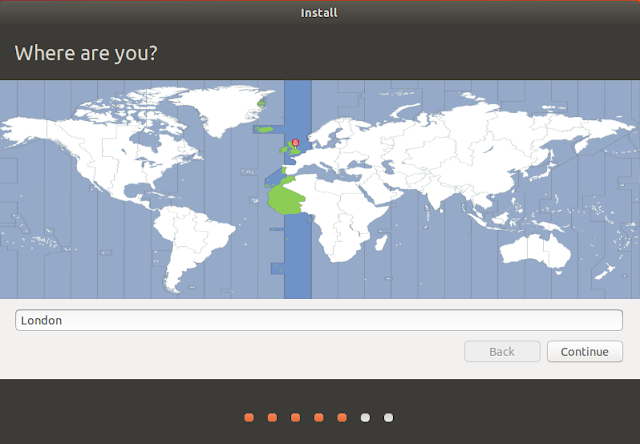 |
| Select your location. |
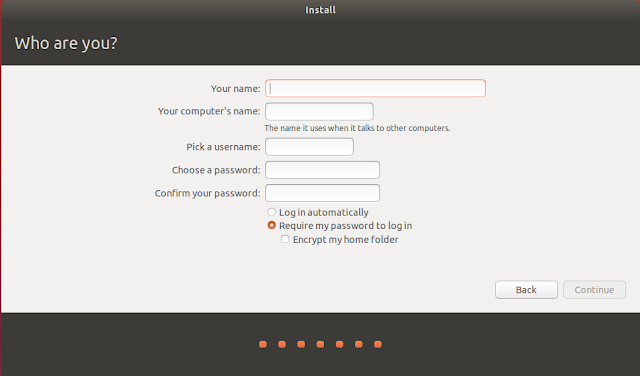 |
| You are ready to give yourself a name. If you want, you can use the one that your parents gave you. If you don't know this name, then you could ask a family member or someone else. If this doesn't help check the back of your shirt, maybe it is written on the label. Failing all that, just call yourself something. Oh yeah, and you are going to need a new password. |
Th...th...th...that's all folks!
Well, that's about it. Sit back and watch Ubuntu installing on your machine.


